
Can I tell you how scared and nervous we were to stencil? But we are always up for the challenge and it turned out to be easier than we could imagine.
We used the Moroccan Dream stencil from Cutting Edge Stencils - they are amazing to work with. I was so excited to get my package and find extra goodies in the box - Clip-on Stencil Lever and Fleur de Lis stencil. With the stencil came great directions - Simple and Easy to follow. Even we can do this...

This is what the design is to look like.

How did we do?
Here's what you'll need
Now you can roll your roller brush over the stencil with light to medium pressure. Bleeding will happen if you use too much pressure.
Are you like me and have to see if you are doing "it" right? You can take a peek to see. Carefully peel back one of the corners and see.
Is it too light? Am I using too much pressure? Just check it and see. Put the stencil back and roll more if needed.
Tips, Tricks and other notes
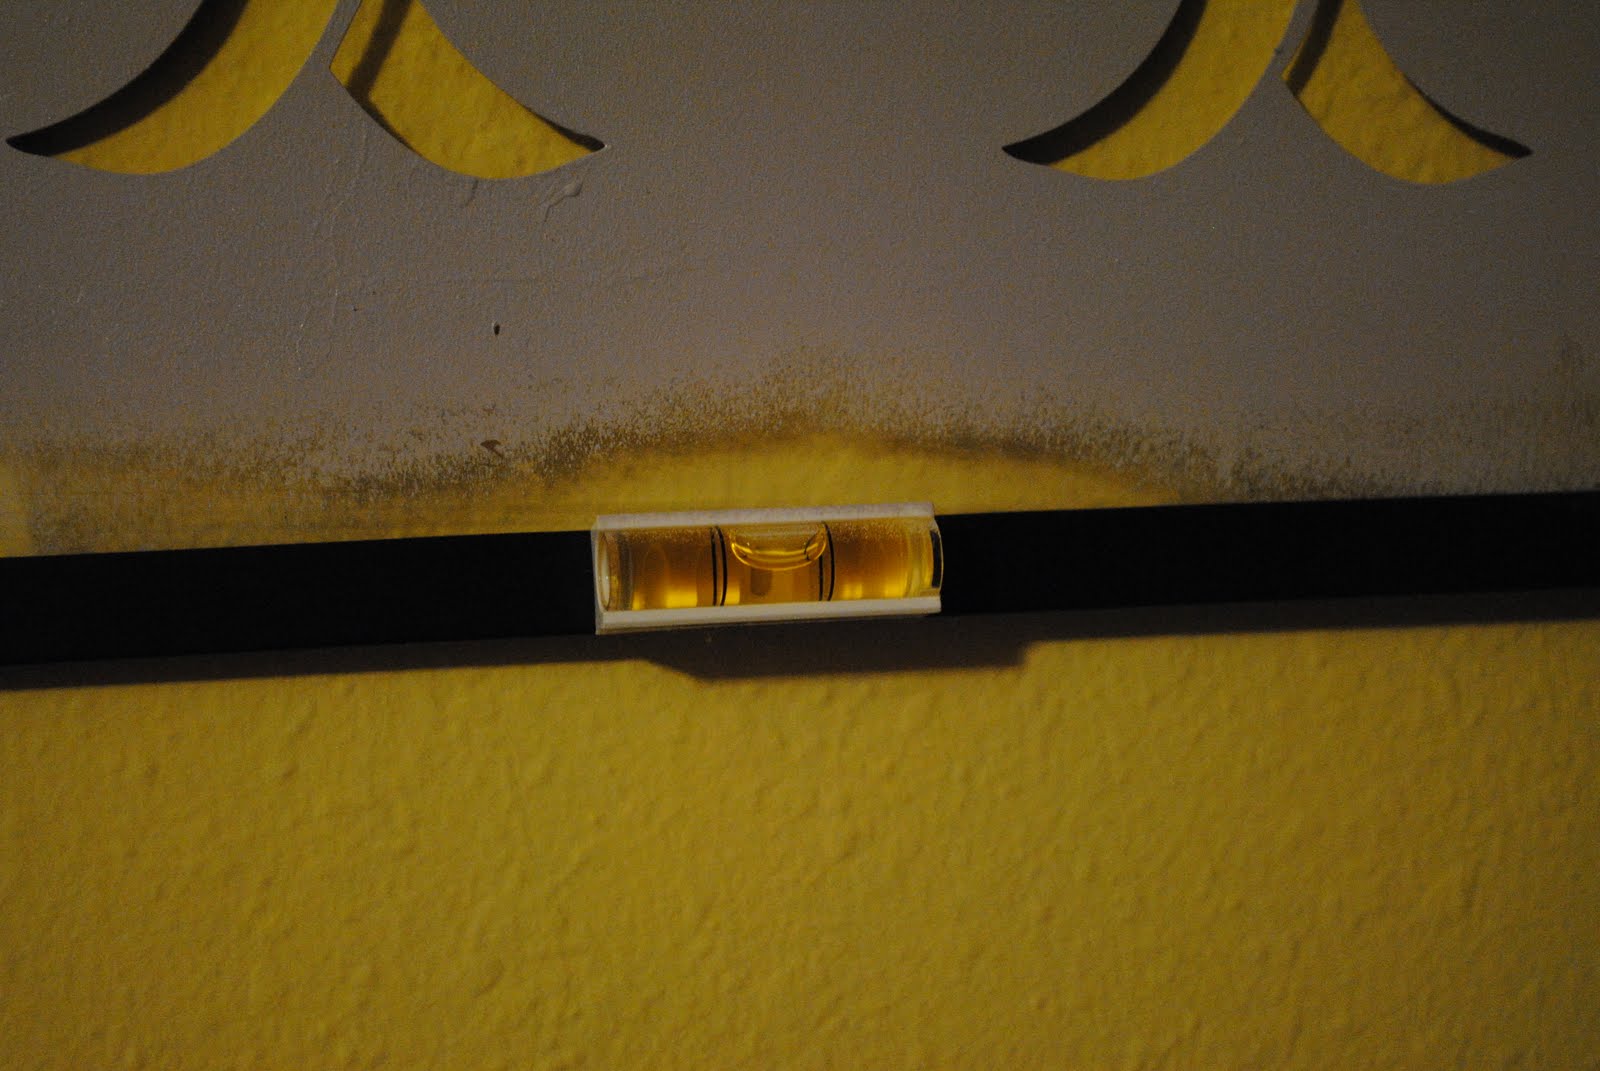
- If using the level place on the bottom while doing ceiling.
- Less paint is more.
- Wipe off fresh mistakes with a damp cloth.
- Keep base coat handy
- Taping stencil to both walls while in a corner will not produce good results.
- Repairs- if you break a bridge in the design. Fix with clear packing tape on both sides.
- Re-Decorating (not that you will do this anytime soon), lightly sand walls and apply 2 coats of base coat paint.
- Taking a break while in the middle of the project- cover paint tray and roller with plastic wrap or foil. This will prevent the paint from drying out.

Now that you are finished with your 1st design, take off the stencil and step back and be amazed that you just made art.
Reposition the stencil using the design as your registration marks. Make sure the design lines up. Tape in place and start rolling. Remember less paint is more.

Reposition, tape, roll and repeat. It's that simple!
Corners, Baseboards, Ceilings:
Not a big deal! Tape half of stencil to one wall. Roll brush into the corner or take small brush and fill in at corner.
Not a big deal! Tape half of stencil to one wall. Roll brush into the corner or take small brush and fill in at corner.

Cleaning and Storage:
Let paint dry completely and simple peel off the paint skin, or you can soak the stencil in the sink or tub. Pat dry with paper towels. Store stencils flat. Don't roll, unless it is your only option.


Stencil Cutting Edge Stencils
Sample board
Foam roller with rounded ends or stencil brush
Paint tray or styrofoam plate
Blue painters tape
Paper towels
Ladder (optional)
Clip-On Stencil Level (optional- but well worth it)

Getting Started:
Paint your walls with your base coat. We used a flat paint in Friendly yellow from Sherwin-Williams as our base coat. Let dry 24 hours before you stencil.

Great name for this "Friendly" yellow!
Practice, Practice, Practice and Practice some more!!!
Use your sample board to work out your method and color combo.
Tape the baseboards, ceilings and walls using 2" blue painters tape.
Now you are ready to start! Since we are only doing one wall we started in the top left corner. We used the Clip-on Stencil Level to check that the pattern is level. Slide the level onto the top or bottom of your stencil. Place your stencil on the wall and adjust until the bubble is centered between the black lines. Fasten stencil with 4 -6 pieces of blue painters tape.
Pour about 2 - 3 tablespoons of paint into your tray/plate. We used yummy Grape Mist paint. You don't need much paint. Load your roller brush by rolling it into the paint a couple of times. Blot off the excess paint onto a folded paper towel by rolling it back and forth a few times until it the roller looks almost dry.

Remember, less is more!


Emma & Stevie said break time (please)

Check back often to see the progress of Katie's room.
To be continued...
To be continued...
•
I LOVE it!! Every time I stencil though the paint bleeds under the stencil where it shouldn't!! i can't wait to see the final product!
ReplyDeleteWe would love to feature this on both our blogs....
ReplyDeleteenvymyfind.blogspot.com
and
envymycooking.blogspot.com
please email us at envymyfind@gmail.com we hope you will let us feature you!!
I love that stencil! I will have to try it :) Come on over and link up to MMM!
ReplyDeletehttp://www.creatingreallyawesomefreethings.com/2011/06/making-monday-marvelous-59.html
wow, that is a LOT of work, but well worth it - turned out great!!
ReplyDeletedang girl!!!!! this is amazing!
ReplyDeleteThis turned out amazing! Love it!
ReplyDeleteThank you so much for linking this up to {nifty thrifty sunday} last week!
xoxo,
Vanessa