Showing posts with label Crafts. Show all posts

Thursday, September 12, 2013

Minnie & Mickey Mouse Headband Tutorial


 Today we are sharing how you can make
your very own Mickey or Minnie Mouse ears.

This is a very easy craft to make 
your Prince or Princess their
own "Mouse" ears.

What will you need for this project?

  • Black Felt (We used glitter felt for Minnie Mouse ears, because every Princess needs glitter in her life.)
  • White Chalk (if you are not using glitter felt)
  • Foam Sheet
  • Hot Glue & Gun
  • Headband (we found black, but you could us any color.  Spray paint or cover with black felt)
  • Ruler
  • Pen
  • 1st Cup (the size you would like your ears.  We used a 3 3/4" cup.)
  • 2nd Cup (1/2" smaller than 1st cup.)
  • Ribbon 1 1/2" and 1/8" (Red & White Polka Dot)
  • Scissors

First step is to make your ears.  You will trace around your cup on felt.
Next measure a 1 1/2" rectangle at the end of your first circle.
Now trace around your cup a second time on the other side of the rectangle.
You will have something that looks like this.


Now cut out.  
You will have black dumbbells.


Trace around second cup on foam sheet and cut out 2 circles.


Glue foam circles to "dumbbells" center.

Now place glue around smaller circle to close circles. 
Leave the rectangle without glue.
Slide closed circles onto headband and glue into place.

TA-DA!
You now have a MICKEY MOUSE ears.

But WAIT!!!  
We want MINNIE MOUSE, so let's make her a bow.
It's simple...

Take 10" of your large ribbon and place together.
Gather ribbon in the center like an accordion.
Wrap smaller ribbon (1 1/2" around center and 
place a dot of glue to secure the ribbon in place.

Place bow in center of ears and secure with glue. 

You now have MICKEY and MINNIE MOUSE ears.

Don't forget to visit our shop to see all of our
Disney inspired Everyday Princess dresses
Chameleon Girls and let us know who is you
favorite on our


"Laughter is Timeless,
Imagination has NO Age,
and Dreams are Forever!
~Walt Disney 


•

Thursday, April 26, 2012

Drinking Straw Lamp Shade


Last week we visited with our
friends at The CSI Project.
The challenge for the week was
Dollar Store Crafts.

Our craft tutorial was a...
Drinking Straw Lamp Shade

This project cost under
5 buck-a-roos.

All of the supplies came from
The Dollar Tree.

You will need:
Mesh basket
(choose the best size to fit your lamp)
Straws
our shade took 3 packs of 180 count

Instructions:
1. Cut straws into 4 pieces

Mama Mia that's a lotta straws
2160 of them


What not to do with the straws...


The second time you drop the bowl full of straws
52 Pick-Up sounds like a fun game.

2. Poke the straws thru the mesh


Most holes fit 4 straws.
If the straws are loose you could
squeeze another into the center.

3. Put on a good movie and have fun
poking the straws until the entire
basket is full.


4. Place shade on, lamp turn on,
grab a good book and enjoy.


How do you like our Penny Desk?
We will show you how to make your own
penny desk top next week.


Who is more foolish,
the child afraid of the dark or
the man afraid of the light?
~Maurice Freehill


•

Monday, December 19, 2011

Color Picture


Each year parents are looking for ideas
for their children to make as
Holiday presents.

Is Mary the next Renoir?
Johnny- Degas?
Trent- Cezanne?
Piper is our next Monet.

For this project you will need:
COLORS
 CANVAS 
(3 for $5 at Hobby Lobby and 40% coupon)
IRON 
WAX PAPER
PENCIL SHARPNER(for shavings)

For this project you are going to use
shavings of the colors. 
We used 2 boxes of 64 colors.
Look how yummy the colors look!
Yes, it did take awhile to shave each color,
but well worth the time.
Plus it will keep your little ones 
quite and still
for a little bit of time.

Have your child draw a design on the canvas.
This is their project but try and stress a
BIG picture is better.

Sprinkle the color shavings on the design.

Try to cover the canvas with colors without white showing.

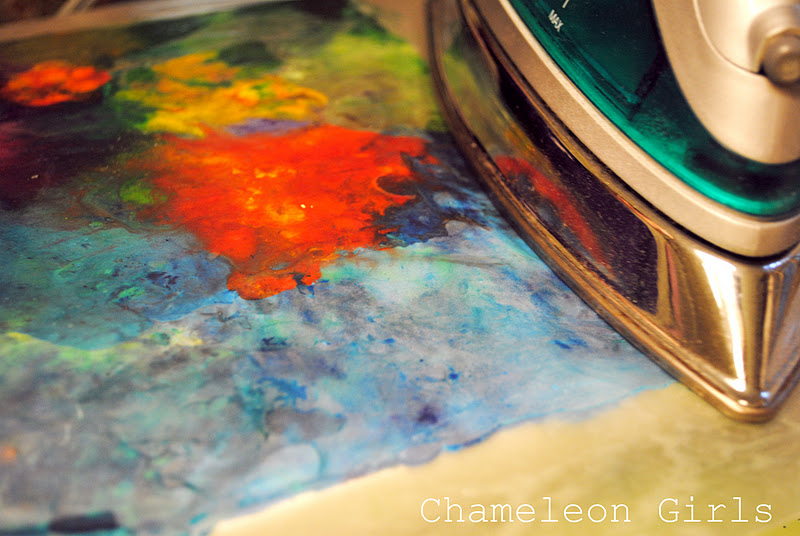
Cover the canvas with wax paper
and iron until the colors melt.

Carefully check to see that the colors have melted
by lifting the wax paper.

If the color has not melted all of the way
lay the wax paper back down and re-iron.

To add a little extra pazzaz
wrap the edges with ribbon and tack down with


Now your child has their very own master piece.


~Claude Monet
•

Tuesday, November 22, 2011

Glitter Finger Polish Tacks

What girl doesn't like a little bit of GLAM in her life?
We do for sure!
So what a better way of using 2 of our favorite things...
GLITTER
&
FINGER POLISH
to make fancy thumb tacks.

This is such an easy project and if you look hard you
might have everything you need around your house.

Thumb Tacks
Glitter
Finger Nail Polish

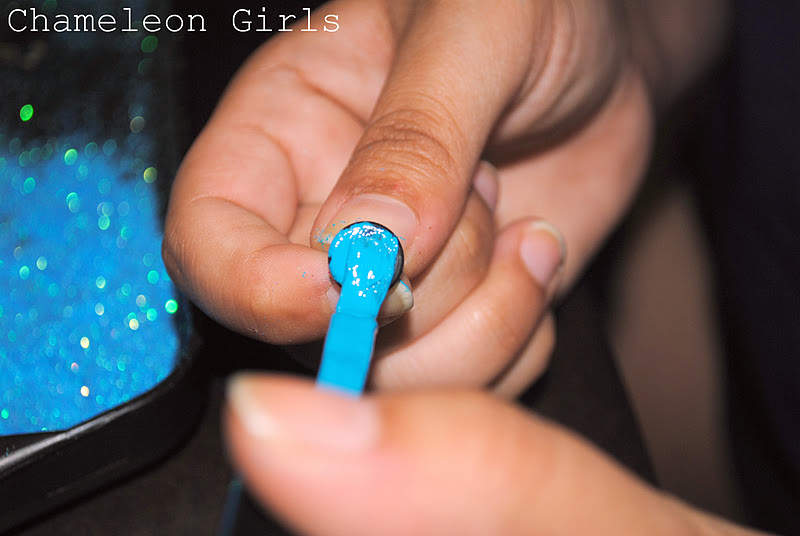
Paint the thumb tack with finger nail polish.
Don't forget the sides.
Dip into the glitter while still wet.
Stick tack into a piece of card board to dry.

How will you use your
Glitter Finger Polish Tacks?

As a boarder for a picture canvas?


Holding your favorite piece of artwork on your


Or give as a present?
A great way to present the tacks is to
wrap a piece of card board with
scrapbook paper or wrapping paper
and stick in the
Glitter Finger Polish Tacks.

All that is gold does not glitter
•

Friday, November 4, 2011

Spirit Wreath


 We can't tell you how excited we are
to be sharing our fall wreath ideas with you

What do you think of when you think of Fall?
Camp Fires
Pumpkins
Leaves changing color
Cooler weather
Football
Tailgating

Okay we do think of all of these,
but we don't see a big
change in the color of leaves
here in Louisiana
And last Wednesday we had
Summer and Winter
all in the same DAY!
Started at 84 and ended at 39 degrees.
Yep, all in the same day.

So we picked two of our fall favorites.
Football and Tailgating to make our wreath.

Showing our team spirit we made a
GEAUX TIGERS
Laurel Wreath
with
SPOONS

This is such an quick, easy and cheap inexpensive project.
All you need are:
40 - 50 plastic spoons
Hot glue
Ribbon

Place a dab of hot glue at the neck of the spoon
and at the top.


While the glue is still hot place the next spoon
on top with the handle hanging over just a tad.


This is what the back will look like.


Keep putting dabs and spoons.
They will form a natural circle.


There are a couple of ways to hang your wreath.

Without ribbon on a nail.


With ribbon


If you are going to use ribbon you can
1. Sew the ribbon
2. Glue the ribbon
Either way once attached, flip the ribbon over.


Now you can show off your team spirit.


Here are a few tips-
 Use White or Clear spoons and
spray paint color of choice
(much cheaper than colored spoons)
Blue or Pink to announce baby
Holiday colors
The ideas are endless.

Stop over for a visit at Chameleon Girls
and tell us how you are going to make your
Laural Wreath
While visiting check out our other projects like our
(we are giving away a cottage.  Find out how you can win.)


If winning isn't everything, why do they keep score?
Vince Lombardi
•